Deploying an application
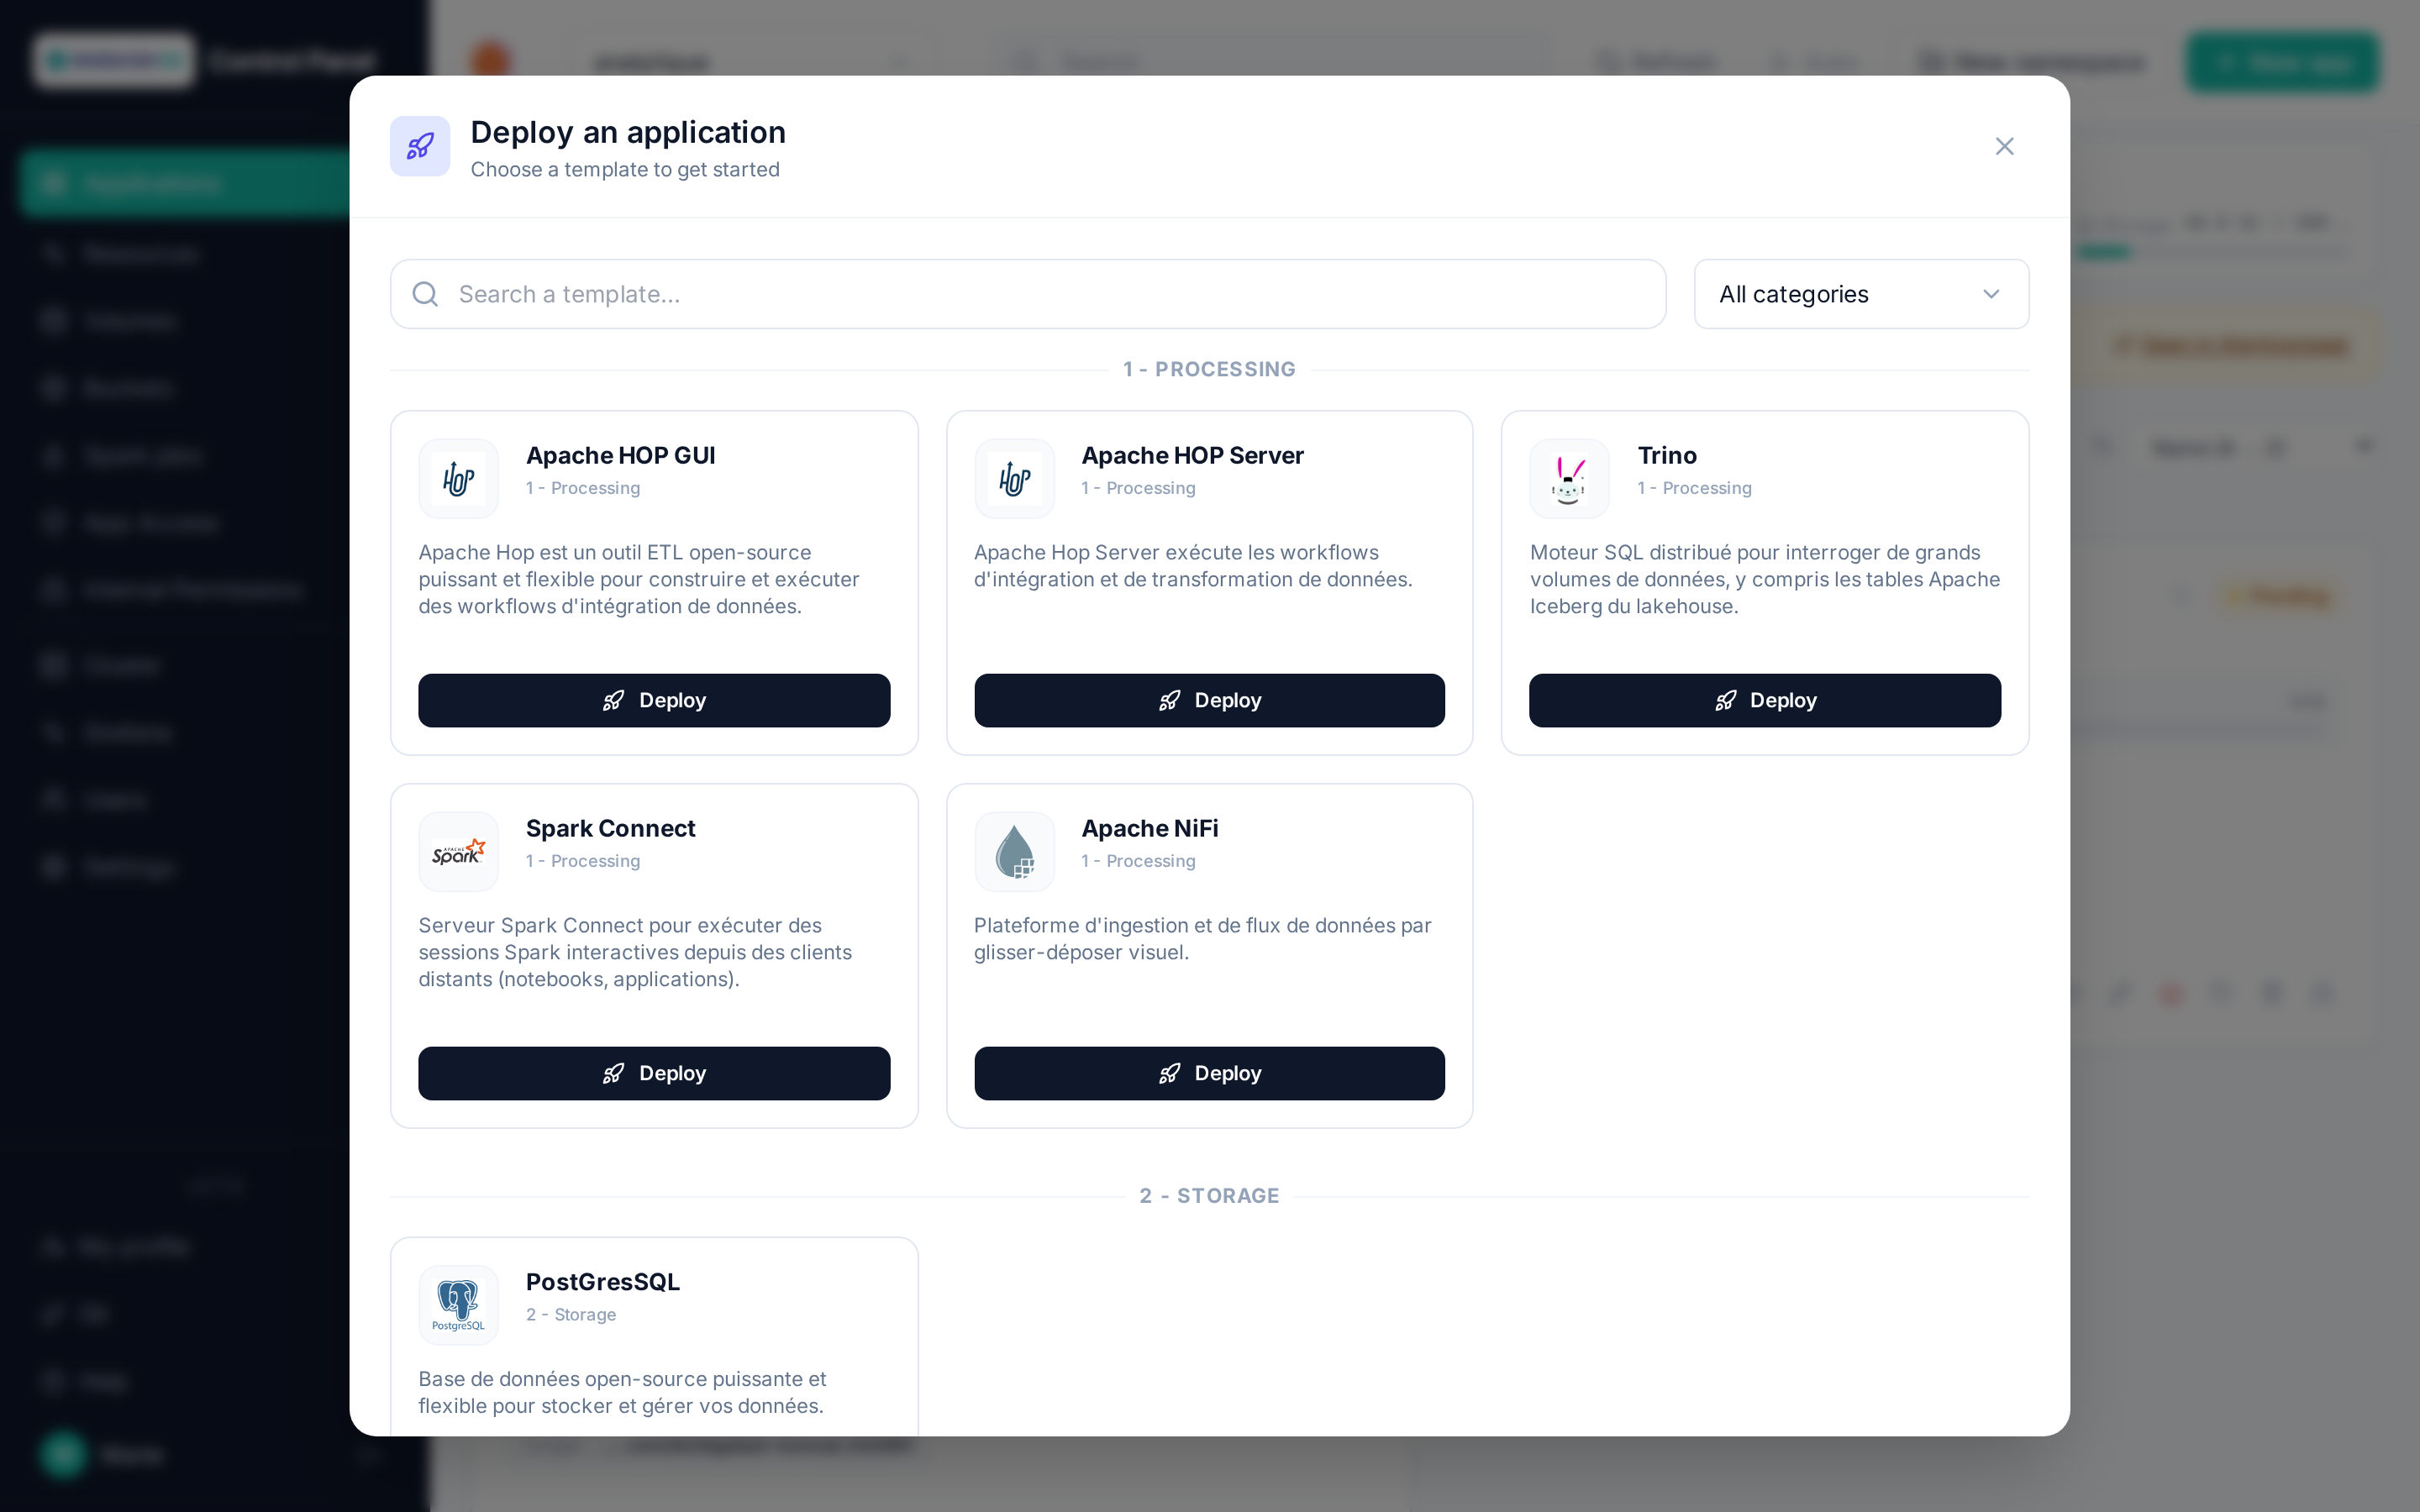
- Check the namespace selected in the header — the application will be deployed there.
- Click New app, then Deploy under the desired template.
- Fill in the configuration form, then Deploy the application.
Common fields
- Application name (required): lowercase letters, digits and dashes only. It identifies the release and can't be changed afterwards (the display name, on the other hand, stays editable — see Configure).
- Namespace: pre-filled with the current namespace.
- Version: the image tag, loaded dynamically from the platform's registry.
- Capacity (CPU / memory / storage): each template has reasonable default values; lower them if the namespace quota is tight.
The remaining fields vary by template: admin credentials, application properties, volumes, Git source (for Apache Hop), backups (for PostgreSQL and Digdash BI)…
Insufficient quota
If the deployment fails with an exceeded quota message, the namespace no longer has enough CPU, memory or storage available. Reduce the requested capacity, remove unused resources, or ask an administrator for a quota increase.
After deployment
The card immediately appears as Pending. Moving to Running takes:
- a few tens of seconds for nginx or PostgreSQL;
- one to two minutes for Apache Hop;
- several minutes for Digdash BI (JVM + embedded PostgreSQL database).
Some templates (Apache Hop, Digdash BI) also automatically create an OIDC client in Keycloak: access to the deployed application then goes through enterprise authentication, and authorized users are managed from Manage access on the card.
Restoring from a backup at creation time
For PostgreSQL and Digdash BI, the Restore section of the form lets you create the application directly from an existing S3 backup — see Backup and restore.